Two Laravel Packages to Send SMS with Twilio
 Povilas Korop
Founder of QuickAdminPanel
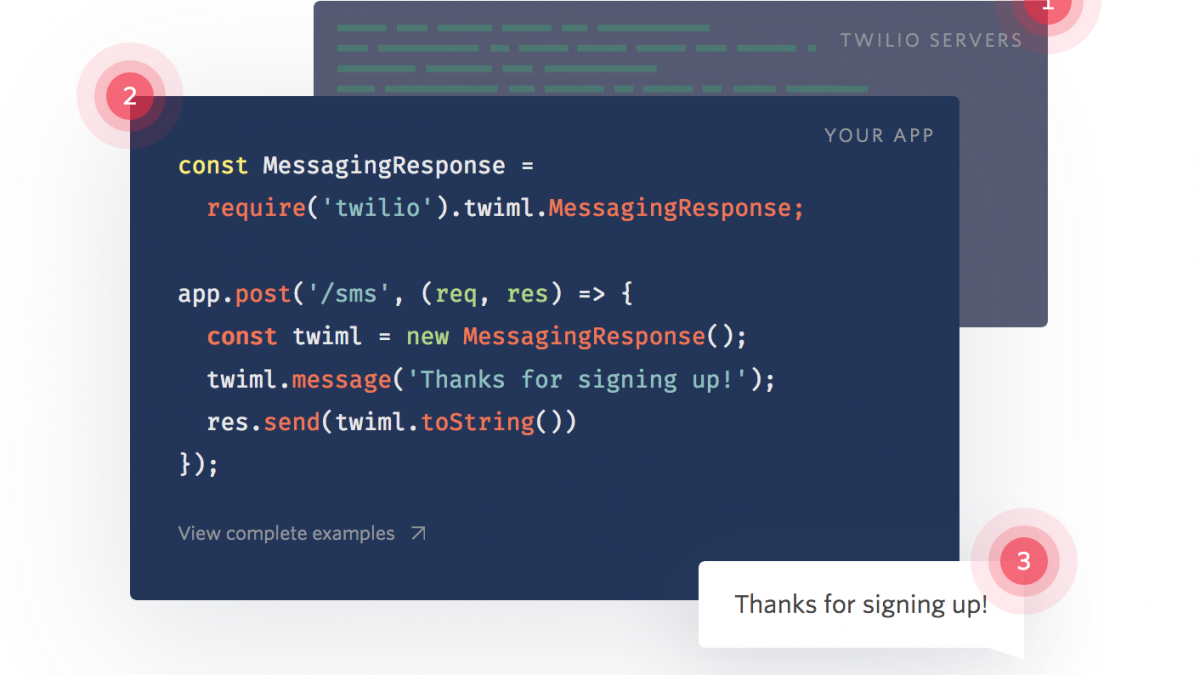
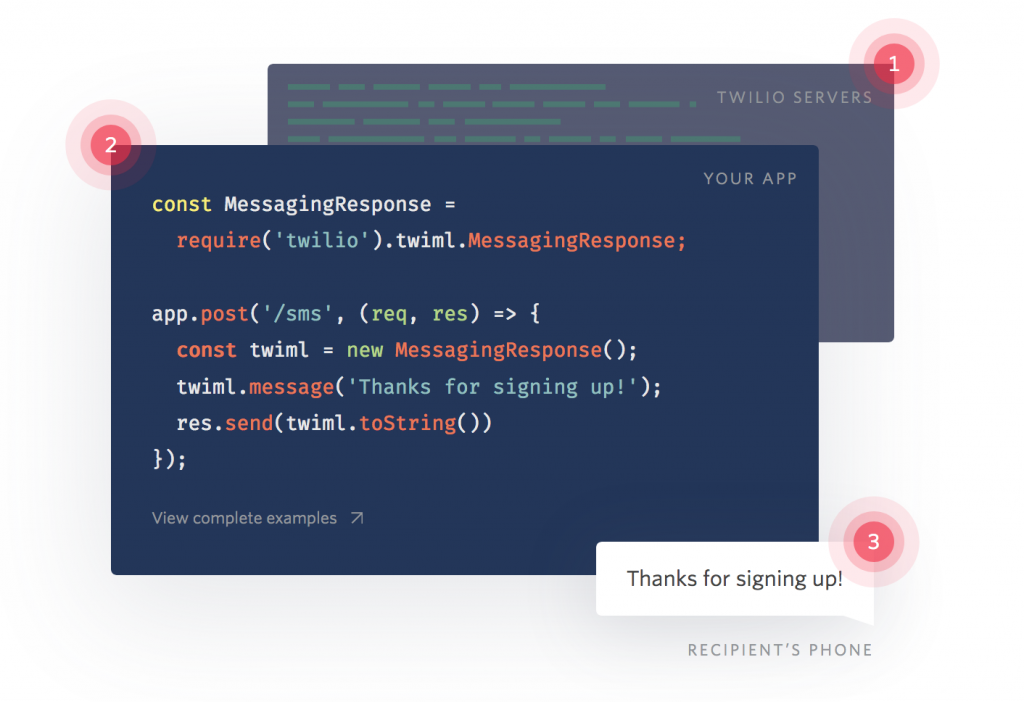
Sending SMS is a pretty common way to notify users about some action – like, transaction finished successfully, invoice ready etc. And Twilio is almost a market standard to do that easily. And there are at least two packages for Laravel to make it even easier.
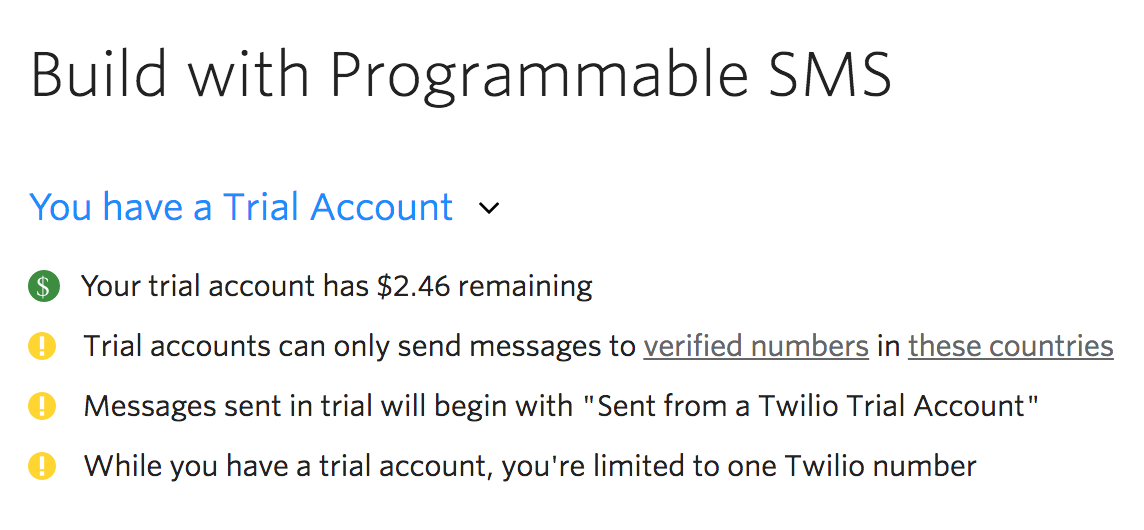
Preparation: Trial Twilio Account
Before you can send any SMS, you need to register at Twilio, and choose your “from” phone number. Twilio gives some credits for your trial account – in my case, it was $2.50, with price of SMS is $0.04 (that depends on the country), it equals to 62 trial SMS messages. Enough to get started.
Package 1. Aloha Twilio: send SMS whenever you want
If you want to just send SMS to any number, then the best package is aloha/laravel-twilio. It uses Twilio API in a Laravel-friendly way, so all you need to send SMS is this:
1. Run this command to install the package:
composer require aloha/twilio
Notice: if you run Laravel 5.4 or lower, there is some additional magic to be done in config/app.php.
2. Add this code whenever you want to send SMS:
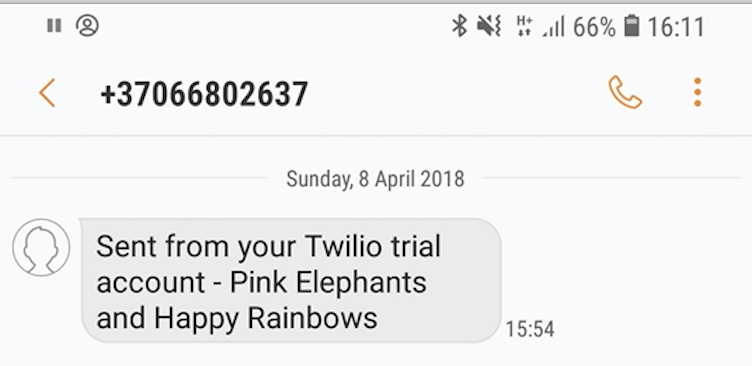
$account_id = 'XXXXXXXXXX';
$auth_token = 'YYYYYYYYYY';
$from_phone_number = '+37066802637'; // phone number you've chosen from Twilio
$twilio = new Twilio($account_id, $auth_token, $from_phone_number);

$to_phone_number = '+37062218617'; // who are you sending to?
$twilio->message($to_phone_number, 'Pink Elephants and Happy Rainbows');
This is how result looked on my mobile:
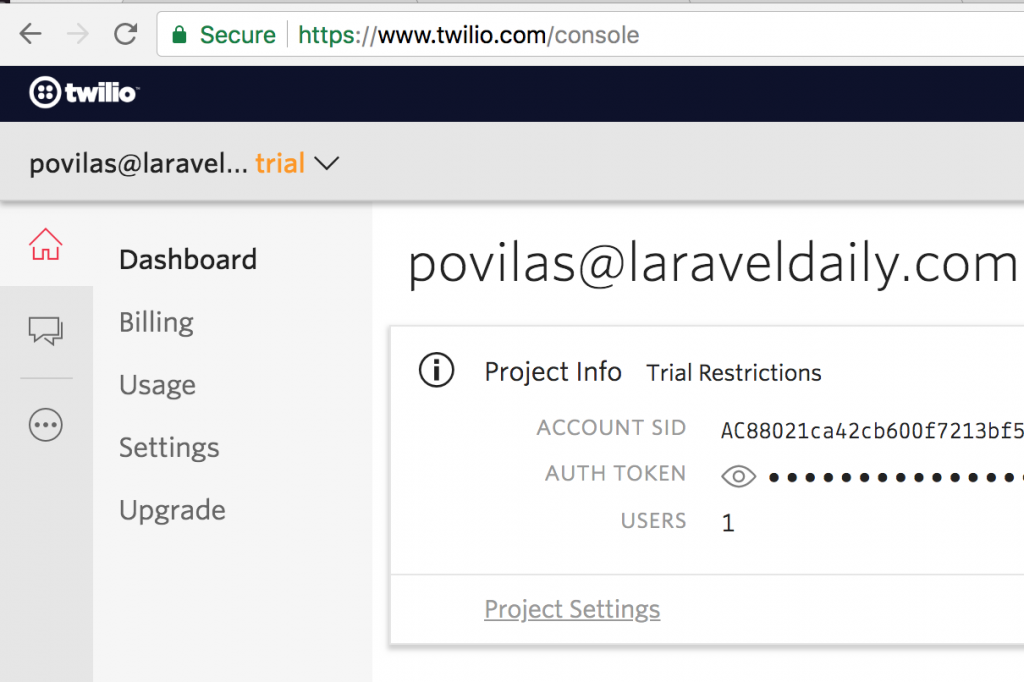
By the way, your account credentials can be found on your Twilio Console main page:
Of course, this package is not only for SMS sending, as Twilio is offering more services like phone calls and others:
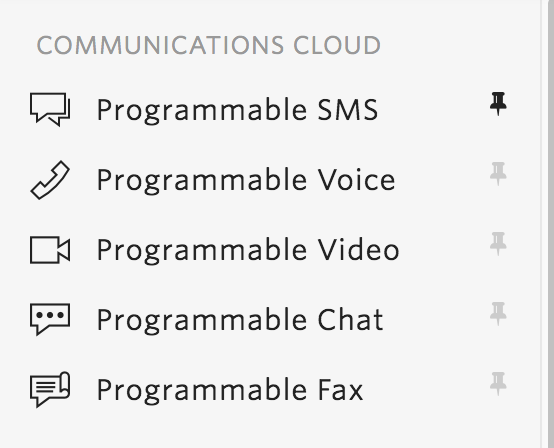
So check out other functions, if you with to use them.
Package 2. Send SMS as User Notifications
Laravel has a function called Notifications – it allows to notify users via different channels: email, Slack messages, and also SMS via Twilio. There’s even a separate website and collection of packages for various notification channels.
So let’s explore the one for Twilio: a package called – surprise, surprise – laravel-notification-channels/twilio.
Installation is simple:
composer require laravel-notification-channels/twilio
Next, you need to add your credentials to the file config/services.php:
'twilio' => [
    'username' => env('TWILIO_USERNAME'), // optional when using auth token
    'password' => env('TWILIO_PASSWORD'), // optional when using auth token
    'auth_token' => env('TWILIO_AUTH_TOKEN'), // optional when using username and password
    'account_sid' => env('TWILIO_ACCOUNT_SID'),
    'from' => env('TWILIO_FROM'), // optional
],
To send notification to a user, we need to add a phone_number field to users table – field with exact that name, that’s what the package will be looking for:
Schema::table('users', function (Blueprint $table) {
    $table->string('phone_number')->nullable();
});
Now, let’s create a Laravel notification:
php artisan make:notification AccountApproved
And fill the class with Twilio-related things:
// ...
use NotificationChannels\Twilio\TwilioChannel;
use NotificationChannels\Twilio\TwilioSmsMessage;

class AccountApproved extends Notification
{
    // ...

    public function via($notifiable)
    {
        return [TwilioChannel::class];
    }

    public function toTwilio($notifiable)
    {
        return (new TwilioSmsMessage())
            ->content("Hi {$notifiable->name}. Your account was approved!");
    }
}
Finally, let’s launch notification from Controller (or anywhere you want):
$user = User::find(1);
$user->notify(new AccountApproved());
And here’s what I’ve got to my phone!

So that’s it – that’s how you use Laravel and its notifications function with Twilio.
Any more related tools you know? Please add them in the comments.
Try our QuickAdminPanel generator!