How to Add Date Filters to our Reports Generator
 Povilas Korop
Founder of QuickAdminPanel
In our module called Reports Generator we generate the code without additional date filters, but it may be really useful. So here’s a short instruction how to achieve that.
Default view of generated report – example of expenses by date:
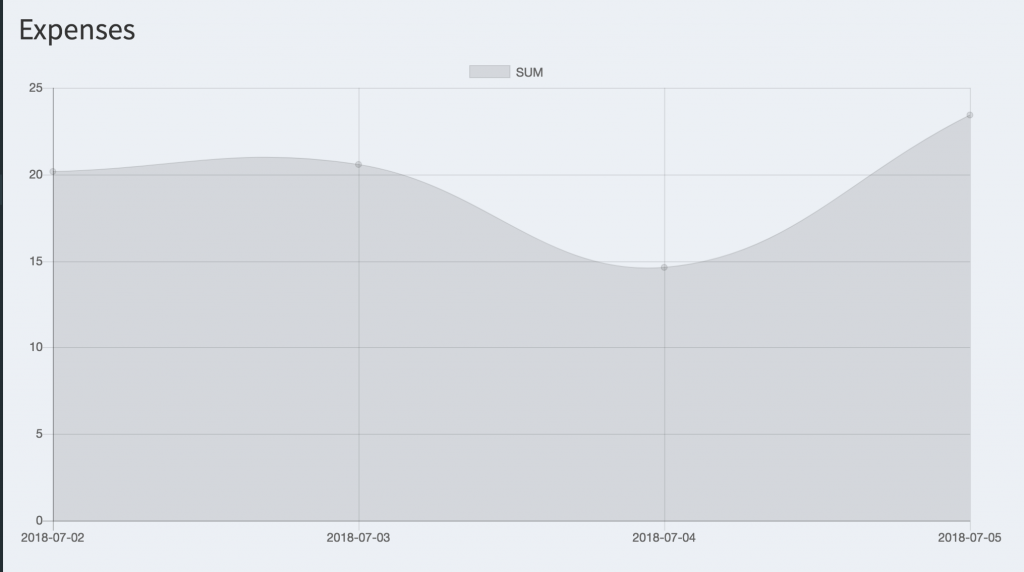
In this article we will add date filter on top and apply it to report results.
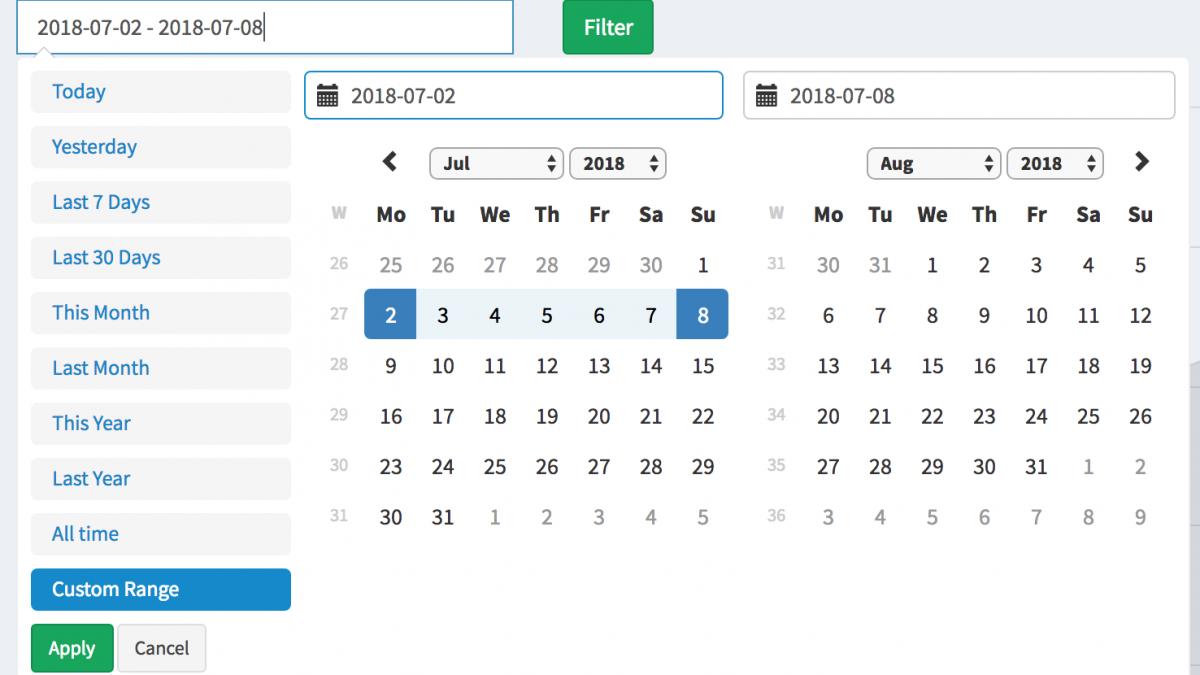
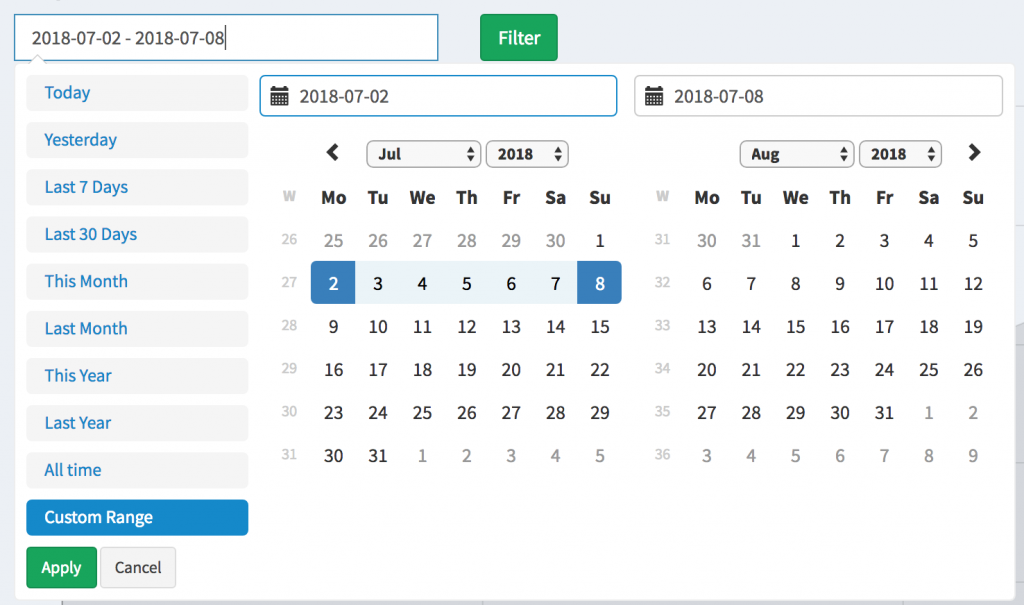
Final result should look like this:

So, there are a few things that we need to change.
Step 1. Add date range picker field above the report
We go to the file resources/views/admin/reports.blade.php and add this before <canvas> code.
<form action="" method="get">
<div class="row">
    <div class="col-md-4">
        <input type="text" class="form-control" name="date_filter" id="date_filter"/>
    </div>
    <div class="col-md-8">
        <input type="submit" name="filter_submit" class="btn btn-success" value="Filter" />
    </div>
</div>
</form>
Next, we need to initialize JavaScript for that picker, so at the bottom of that file we add this:
@section('scripts')
    <!-- Include Required Prerequisites -->
    <script type="text/javascript" src="//cdn.jsdelivr.net/momentjs/latest/moment.min.js"></script>

    <!-- Include Date Range Picker -->
    <script type="text/javascript" src="//cdn.jsdelivr.net/bootstrap.daterangepicker/2/daterangepicker.js"></script>
    <link rel="stylesheet" type="text/css" href="//cdn.jsdelivr.net/bootstrap.daterangepicker/2/daterangepicker.css"/>

    <script type="text/javascript">
        $(function () {
            let dateInterval = getQueryParameter('date_filter');
            let start = moment().startOf('isoWeek');
            let end = moment().endOf('isoWeek');
            if (dateInterval) {
                dateInterval = dateInterval.split(' - ');
                start = dateInterval[0];
                end = dateInterval[1];
            }
            $('#date_filter').daterangepicker({
                "showDropdowns": true,
                "showWeekNumbers": true,
                "alwaysShowCalendars": true,
                startDate: start,
                endDate: end,
                locale: {
                    format: 'YYYY-MM-DD',
                    firstDay: 1,
                },
                ranges: {
                    'Today': [moment(), moment()],
                    'Yesterday': [moment().subtract(1, 'days'), moment().subtract(1, 'days')],
                    'Last 7 Days': [moment().subtract(6, 'days'), moment()],
                    'Last 30 Days': [moment().subtract(29, 'days'), moment()],
                    'This Month': [moment().startOf('month'), moment().endOf('month')],
                    'Last Month': [moment().subtract(1, 'month').startOf('month'), moment().subtract(1, 'month').endOf('month')],
                    'This Year': [moment().startOf('year'), moment().endOf('year')],
                    'Last Year': [moment().subtract(1, 'year').startOf('year'), moment().subtract(1, 'year').endOf('year')],
                    'All time': [moment().subtract(30, 'year').startOf('month'), moment().endOf('month')],
                }
            });
        });
        function getQueryParameter(name) {
            const url = window.location.href;
            name = name.replace(/[\[\]]/g, "\\$&");
            const regex = new RegExp("[?&]" + name + "(=([^&#]*)|&|#|$)"),
                results = regex.exec(url);
            if (!results) return null;
            if (!results[2]) return '';
            return decodeURIComponent(results[2].replace(/\+/g, " "));
        }
    </script>

@stop
As you can see, we’ve created a section called ‘scripts’ (read more about sections here), so we need to add that in out main resources/views/layouts/app.blade.php:
// ...
@include('partials.javascripts')

@yield('scripts')

</body>
</html>
Step 2. Filter data in Controller
If we choose the dates and click on filter, the new URL will look something like this:
/admin/reports/expenses?date_filter=2018-07-02+-+2018-07-08&filter_submit=Filter
We need to get the date_filter values here and turn them to two variables: $date_from and $date_to. Also, we need to add default values for these.
So here’s our app/Http/Controllers/Admin/ReportsController.php:
// ...
use Illuminate\Http\Request; // we add this

class ReportsController extends Controller
{
    public function expenses(Request $request)
    {
        if (isset($request->date_filter)) {
            $parts = explode(' - ' , $request->date_filter);
            $date_from = $parts[0];
            $date_to = $parts[1];
        } else {
            $carbon_date_from = new Carbon('last Monday');
            $date_from = $carbon_date_from->toDateString();
            $carbon_date_to = new Carbon('this Sunday');
            $date_to = $carbon_date_to->toDateString();
        }
// ...
Notice: probably there is a more elegant way to achieve this in Carbon, but I didn’t find it clearly in the official documentation.
Final step – we need to add our variables into main query of the report. So in the same controller, a little lower, we have the line:
$results = Expense::get()->sortBy('entry_date')->groupBy(function ($entry) {
// ...
All we need to do is add a couple of where() conditions:
$results = Expense::where('entry_date', '>=', $date_from)->where('entry_date', '<=', $date_to)
    ->get()->sortBy('entry_date')->groupBy(function ($entry) {
// ...
And that’s it, you have a working date range filter. You can download full project for this example in this archive.