How to Add Multi-Language Models to Laravel QuickAdminPanel
 Povilas Korop
Founder of QuickAdminPanel
A few customers asked us for a new function – ability to have multi-language models. We could have built it into our generator, but there’s a package that does 99% of that, so why reinvent the wheel instead of recommending a good alternative? So here’s an article with demo-version how to add Astrotomic/laravel-translatable (ex. dimsav/laravel-translatable) into our admin panel.
Even if you’re not using our generator, this article will show how this popular multi-language package works, and how easy it is to set up.
First, what we have – a simple adminpanel generated with QuickAdminPanel, with one CRUD item called articles – every article has a title and full text.
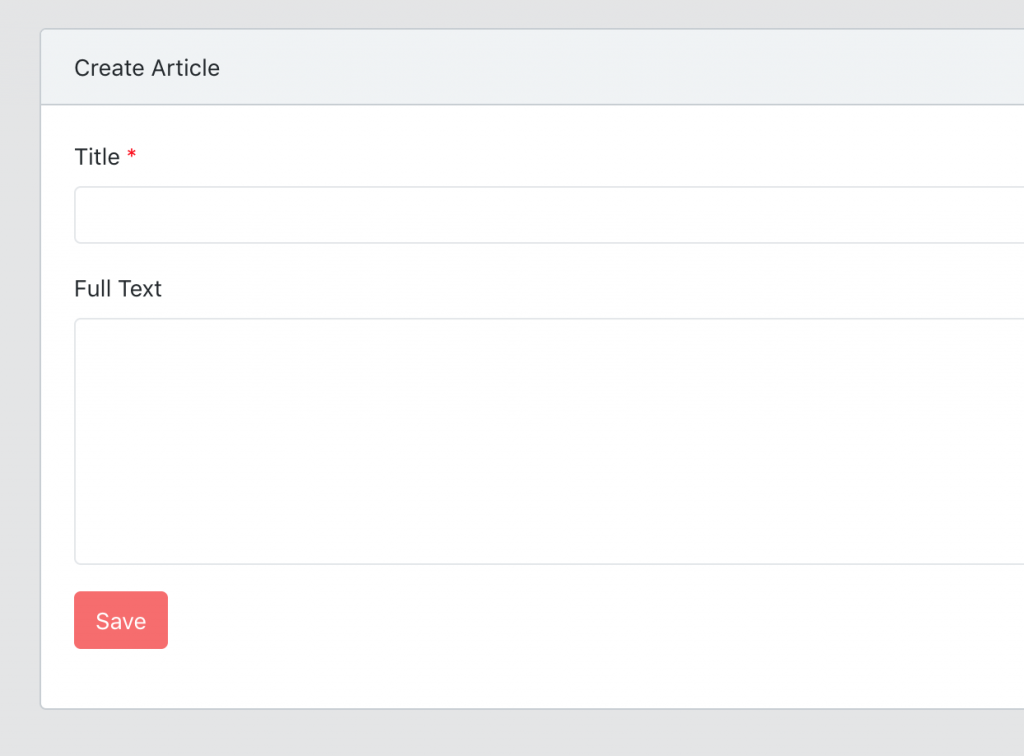
And on top of that, we add a possibility to make articles multi-language.
Step 1. Install the package
composer require astrotomic/laravel-translatable
Step 2. Migration for translations table
In this example we are working with Article model so we will create migration accordingly – the package requires it to be XXXTranslation.
php artisan make:model ArticleTranslation -m
It will create a translation model and migration, which we fill like this:
public function up()
{
   Schema::create('article_translations', function (Blueprint $table) {
       // mandatory fields
       $table->bigIncrements('id'); // Laravel 5.8+ use bigIncrements() instead of increments()
       $table->string('locale')->index();

       // Foreign key to the main model
       $table->unsignedInteger('article_id');
       $table->unique(['article_id', 'locale']);
       $table->foreign('article_id')->references('id')->on('articles')->onDelete('cascade');

       // Actual fields you want to translate
       $table->string('title');
       $table->longText('full_text');
   });
}
Also, if you have those fields in the main Article model, you need to remove them in migration
Schema::table('articles', function (Blueprint $table) {
    $table->dropColumn('title');
    $table->dropColumn('full_text');
});
NOTICE: PLEASE BACKUP/EXPORT YOUR DATA BEFOREHAND IF YOU HAVE REAL ARTICLES.
Also, remove then in Model’s $fillable array:
class Article extends Model
{
    // You don't need these anymore
    protected $fillable = [
      // 'title',
      // 'full_text'
    ];
Now, finally, run:
php artisan migrate
Step 3. Model setup
Let’s move to model setup – in our case it will be app/Article.php.
Now you will need to add so-called trait with use keyword after class signature. We will use Translatable trait. And make sure you have use Astrotomic\Translatable\Translatable; below namespace declaration.
One more thing to add is $translatedAttributes property which is assigned with array of attributes’ names to be translated. In this case it should look like this:
public $translatedAttributes = ['title', 'full_text'].
So here’s the final Article.php model and three main points to pay attention – see comments:
namespace App;

use Illuminate\Database\Eloquent\Model;

// 1. To specify package’s class you are using
use Astrotomic\Translatable\Contracts\Translatable as TranslatableContract;
use Astrotomic\Translatable\Translatable;

class Article extends Model implements TranslatableContract
{
    use Translatable; // 2. To add translation methods

    // 3. To define which attributes needs to be translated
    public $translatedAttributes = ['title', 'full_text'];
}
Now we need to setup a translation model – app/ArticleTranslation.php. Here you just need to assign to protected $fillable the same array as we assigned to $translatedAttributes in previous model and specify that we don’t need timestamps with public $timestamps = false;
namespace App;

use Illuminate\Database\Eloquent\Model;

class ArticleTranslation extends Model
{
   protected $fillable = ['title', 'full_text'];
   public $timestamps = false;
}
Step 4. Configuring package
Let’s back to terminal to finish our configuration.
- Run php artisan vendor:publish ‐‐tag=translatable
- Open config/translatable.php where we determine what languages we are going to use. In this example we will only use English and Spanish. But you are free to use whichever and how many you want.
- Modify locales array by adding your wanted languages codes.
// ...
'locales' => [
   'en',
   'es'
],
Step 5. Create View – choosing languages for input
Now we will prepare our resources/views/admin/articles/create.blade.php file for creating our freshly made multi-language article. Follow up design solution it’s just one of many available. Try to implement it or just create your own.
For the beginning we will add Bootstrap tabs for navigating between languages and data:
<ul class="nav nav-tabs">
   <li class="nav-item">
       <a class="nav-link bg-aqua-active" href="#" id="english-link">EN</a>
   </li>
   <li class="nav-item">
       <a class="nav-link" href="#" id="spanish-link">ES</a>
   </li>
</ul>
Now we add two identical style-like panels for input fields – English and Spanish:
<div class="card-body" id="english-form">
    <div class="form-group">
        <label class="required" for="en_title">{{ trans('cruds.article.fields.title') }} (EN)</label>
        <input class="form-control {{ $errors->has('en_title') ? 'is-invalid' : '' }}" type="text" name="en_title" id="en_title" value="{{ old('en_title', '') }}" required>
        @if($errors->has('en_title'))
            <div class="invalid-feedback">
                {{ $errors->first('en_title') }}
            </div>
        @endif
        <span class="help-block">{{ trans('cruds.article.fields.title_helper') }}</span>
    </div>
    <div class="form-group">
        <label for="en_full_text">{{ trans('cruds.article.fields.full_text') }} (EN)</label>
        <textarea class="form-control {{ $errors->has('en_full_text') ? 'is-invalid' : '' }}" name="en_full_text" id="en_full_text">{{ old('en_full_text') }}</textarea>
        @if($errors->has('en_full_text'))
            <div class="invalid-feedback">
                {{ $errors->first('en_full_text') }}
            </div>
        @endif
        <span class="help-block">{{ trans('cruds.article.fields.full_text_helper') }}</span>
    </div>
</div>

<div class="card-body d-none" id="spanish-form">
    <div class="form-group">
        <label class="required" for="title">{{ trans('cruds.article.fields.title') }} (ES)</label>
        <input class="form-control {{ $errors->has('es_title') ? 'is-invalid' : '' }}" type="text" name="es_title" id="es_title" value="{{ old('es_title', '') }}" required>
        @if($errors->has('es_title'))
            <div class="invalid-feedback">
                {{ $errors->first('es_title') }}
            </div>
        @endif
        <span class="help-block">{{ trans('cruds.article.fields.title_helper') }}</span>
    </div>
    <div class="form-group">
        <label for="es_full_text">{{ trans('cruds.article.fields.full_text') }} (ES)</label>
        <textarea class="form-control {{ $errors->has('es_full_text') ? 'is-invalid' : '' }}" name="es_full_text" id="es_full_text">{{ old('es_full_text') }}</textarea>
        @if($errors->has('es_full_text'))
            <div class="invalid-feedback">
                {{ $errors->first('es_full_text') }}
            </div>
        @endif
        <span class="help-block">{{ trans('cruds.article.fields.full_text_helper') }}</span>
    </div>
</div>
Notice 1: fields names are prefixed by language code and sign ‘_’, like en_title or es_full_text. It will help us later to save data.
Notice 2: one panel has a class=”d-none” from Bootstrap 4.
You can customize it even further by taking the language from config dynamically, but in this article, we simplified it to those two languages.
Now just add few lines of code of jQuery:
   var $englishForm = $('#english-form');
   var $spanishForm = $('#spanish-form');
   var $englishLink = $('#english-link');
   var $spanishLink = $('#spanish-link');

   $englishLink.click(function() {
     $englishLink.toggleClass('bg-aqua-active');
     $englishForm.toggleClass('d-none');
     $spanishLink.toggleClass('bg-aqua-active');
     $spanishForm.toggleClass('d-none');
   });

   $spanishLink.click(function() {
     $englishLink.toggleClass('bg-aqua-active');
     $englishForm.toggleClass('d-none');
     $spanishLink.toggleClass('bg-aqua-active');
     $spanishForm.toggleClass('d-none');
   });
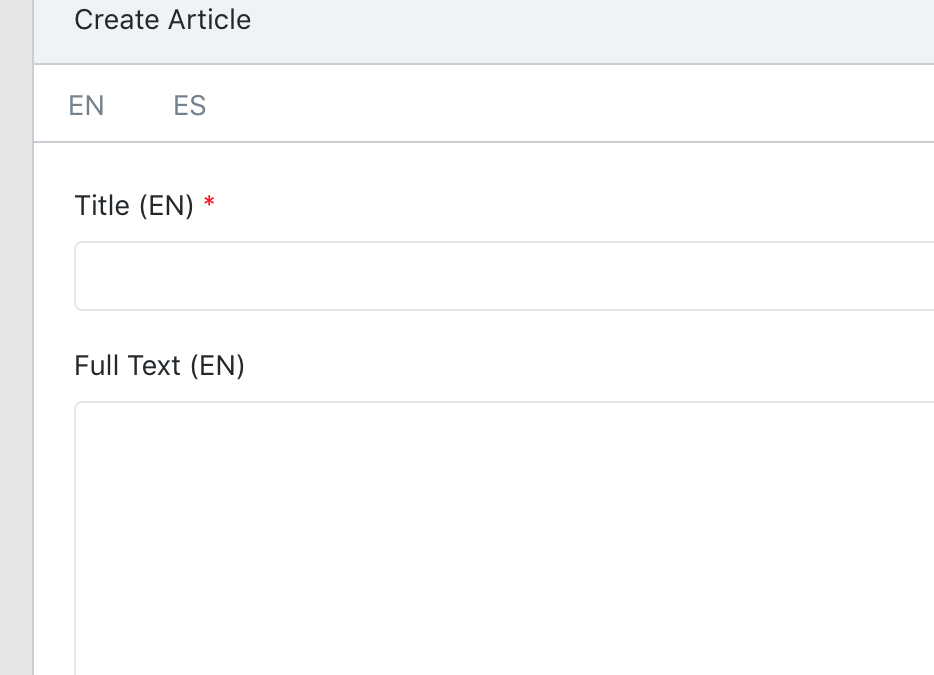
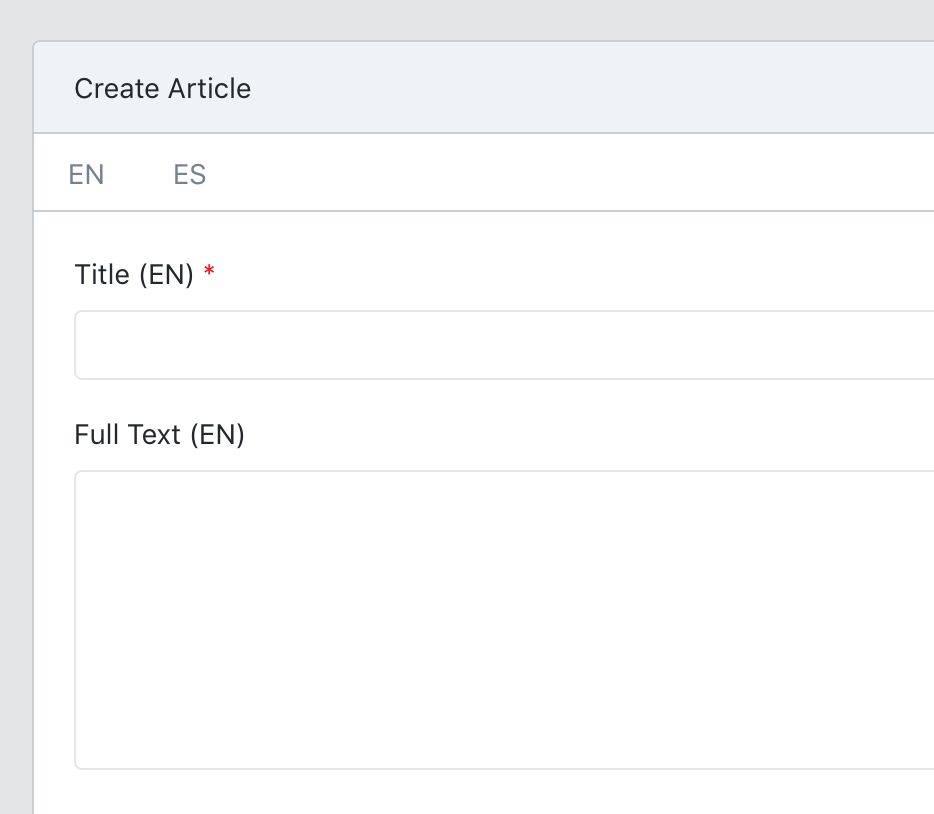
And you should see something like this:
Now, edit form is almost identical to the create one, with these changes:
1. Different header and action route:
<form action="{{ route('admin.articles.update', $article->id) }}" method="PUT">
Also change every old() functions’ arguments accordingly to load model’s old data:
<label class="required" for="en_title">{{ trans('cruds.article.fields.title') }} (EN)</label>
<input type="text" name="en_title" value="{{ $article->translate('en')->title }}" class="form-control" />
Step 6. Saving the translations in Controller
Head straight to app/Http/Controllers/Admin/ArticlesController.php to save our form data, and we will be ready to go.
When creating our model key point is to specify which language gets which data, this code should be placed:
public function store(Request $request) {
    $article_data = [
       'en' => [
           'title'       => $request->input('en_title'),
           'full_text' => $request->input('en_full_text')
       ],
       'es' => [
           'title'       => $request->input('es_title'),
           'full_text' => $request->input('es_full_text')
       ],
    ];

    // Now just pass this array to regular Eloquent function and Voila!
    Article::create($article_data);

    // Redirect to the previous page successfully
    return redirect()->route('admin.articles.index');
}
From now on anywhere in your code when you want to access the translated property of the model just type
$article->translate('en')->title
to get the English version of the title. Or if you want the translated version of current locale (language) just type this:
$article->title
Also, update() method is really similar:
public function update($id, Request $request) {
    $article_data = [
       'en' => [
           'title'       => $request->input('en_title'),
           'full_text' => $request->input('en_full_text')
       ],
       'es' => [
           'title'       => $request->input('es_title'),
           'full_text' => $request->input('es_full_text')
       ],
    ];

    $article = Article::findOrFail($id);
    $article->update($article_data);

    // Redirect to the previous page successfully
    return redirect()->route('admin.articles.index');
}
Final Little tip. If you want to change the current app locale it’s just simple as
App::locale('es');
To learn further about this awesome package visit https://github.com/Astrotomic/laravel-translatable for deeper documentation.