Master-Detail Form in Laravel + jQuery: Create Order With Products
 Povilas Korop
Founder of QuickAdminPanel
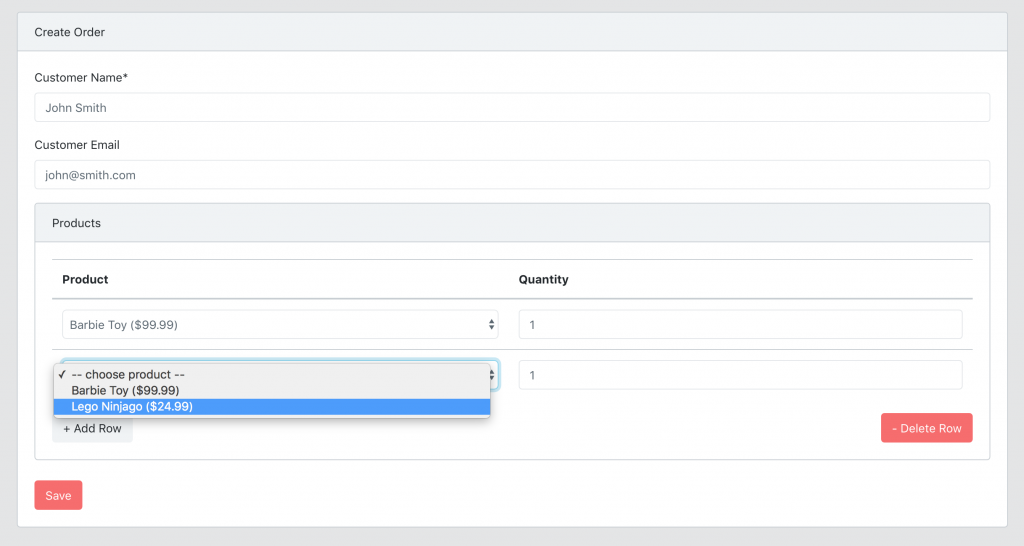
It’s pretty easy to create a simple form in Laravel. But it’s harder to make it dynamic – the most common case is parent-child elements, like creating invoice and adding items dynamically in the same form. In this article, we will create a similar example – creating an order and adding products to it.
Database Migrations and Models
First, database structure in Laravel – three migration files:
Schema::create('products', function (Blueprint $table) {
    $table->increments('id');
    $table->string('name');
    $table->decimal('price', 15, 2)->nullable();
    $table->timestamps();
});

Schema::create('orders', function (Blueprint $table) {
    $table->increments('id');
    $table->string('customer_name');
    $table->string('customer_email')->nullable();
    $table->timestamps();
});

Schema::create('order_product', function (Blueprint $table) {
    $table->unsignedInteger('order_id');
    $table->foreign('order_id')->references('id')->on('orders');
    $table->unsignedInteger('product_id');
    $table->foreign('product_id')->references('id')->on('products');
    $table->integer('quantity');
});
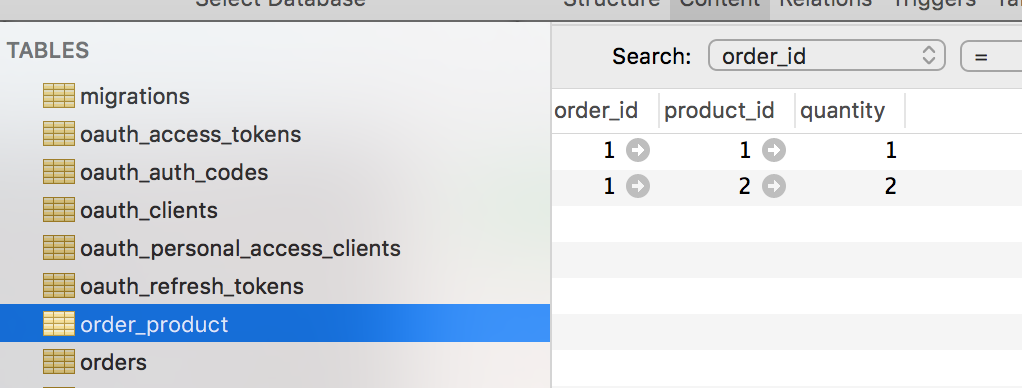
As you can see, there’s a many-to-many relationship between order and product, and pivot table also contains integer field quantity.
Here’s how it looks in Laravel models.
app/Product.php:
class Product extends Model
{
    protected $fillable = [
        'name',
        'price',
    ];
}
app/Order.php:
class Order extends Model
{
    protected $fillable = [
        'customer_name',
        'customer_email',
    ];

    public function products()
    {
        return $this->belongsToMany(Product::class)->withPivot(['quantity']);
    }
}
As you can see, we add withPivot([‘quantity’]) to be able to manipulate that field easier with Eloquent, will show that later.
Now, if we run these migrations and then reverse engineer the database with MySQL Workbench, we have this structure:

Create Order Form
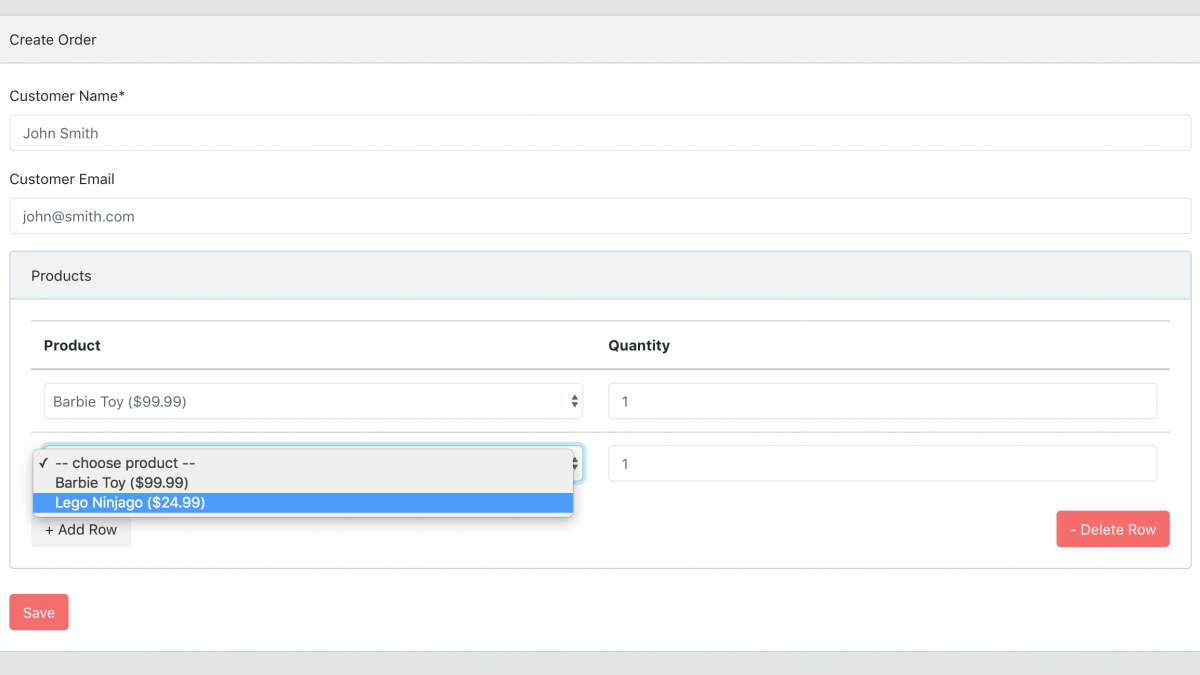
Now it’s time to build a form to create order, here’s the screenshot again:

First, Controller method with passing available products from the database.
app/Http/Controllers/Admin/OrdersController.php:
public function create()
{
    $products = Product::all();
    return view('admin.orders.create', compact('products'));
}
Simple, right? Now, let’s go to the Blade file.
Notice: This form was actually pre-generated by QuickAdminPanel, but you can build your own manually.
So, we have this in resources/views/admin/orders/create.blade.php. I will intentionally skip the customer name/email fields, and focus only on products:
<form action="{{ route("admin.orders.store") }}" method="POST">
    @csrf

    {{-- ... customer name and email fields --}}

    <div class="card">
        <div class="card-header">
            Products
        </div>

        <div class="card-body">
            <table class="table" id="products_table">
                <thead>
                    <tr>
                        <th>Product</th>
                        <th>Quantity</th>
                    </tr>
                </thead>
                <tbody>
                    <tr id="product0">
                        <td>
                            <select name="products[]" class="form-control">
                                <option value="">-- choose product --</option>
                                @foreach ($products as $product)
                                    <option value="{{ $product->id }}">
                                        {{ $product->name }} (${{ number_format($product->price, 2) }})
                                    </option>
                                @endforeach
                            </select>
                        </td>
                        <td>
                            <input type="number" name="quantities[]" class="form-control" value="1" />
                        </td>
                    </tr>
                    <tr id="product1"></tr>
                </tbody>
            </table>

            <div class="row">
                <div class="col-md-12">
                    <button id="add_row" class="btn btn-default pull-left">+ Add Row</button>
                    <button id='delete_row' class="pull-right btn btn-danger">- Delete Row</button>
                </div>
            </div>
        </div>
    </div>
    <div>
        <input class="btn btn-danger" type="submit" value="{{ trans('global.save') }}">
    </div>
</form>
So, we’re building a table of products here, and to make it dynamic we use approach I’ve found in this Bootstrap Snippet:
- We prefill the first row of the table with all the fields
- We also create new empty row which is invisible to user
- Button “Add row” will then duplicate last row of the table and create one more empty invisible row
- Button “Delete row” will then delete last row of the table
- Every row’s input variables will be array, so for POST result we will have array of products[] and quantities[]
Here’s the jQuery part of this – put it in wherever you have your JavaScript section:
  $(document).ready(function(){
    let row_number = 1;
    $("#add_row").click(function(e){
      e.preventDefault();
      let new_row_number = row_number - 1;
      $('#product' + row_number).html($('#product' + new_row_number).html()).find('td:first-child');
      $('#products_table').append('<tr id="product' + (row_number + 1) + '"></tr>');
      row_number++;
    });

    $("#delete_row").click(function(e){
      e.preventDefault();
      if(row_number > 1){
        $("#product" + (row_number - 1)).html('');
        row_number--;
      }
    });
  });
Saving Order and Products Data
Let’s get back to our app/Http/Controllers/Admin/OrdersController.php, its store() method will look like this:
public function store(StoreOrderRequest $request)
{
    $order = Order::create($request->all());

    $products = $request->input('products', []);
    $quantities = $request->input('quantities', []);
    for ($product=0; $product < count($products); $product++) {
        if ($products[$product] != '') {
            $order->products()->attach($products[$product], ['quantity' => $quantities[$product]]);
        }
    }

    return redirect()->route('admin.orders.index');
}
What do we have here?
- First, we save the order’s main data into $order;
- Then, we take products/quantities array, putting empty arrays as values in case they are missing;
- We iterate through products and if product ID is not empty we use the attach() method of many-to-many relationships, adding a value of quantity as extra parameter (read more about many-to-many in my popular article).
And, that’s it with the data saving, order with products is saved in the database!


View Orders with Products in List
Final thing in this article – we have a list of orders, and one of the columns should be products from that order.

How to list those products?
app/Http/Controllers/Admin/OrdersController.php:
public function index()
{
    $orders = Order::with('products')->get();
    return view('admin.orders.index', compact('orders'));
}
And then – resources/views/admin/orders/index.blade.php – every row of the table should look like this:
@foreach($orders as $order)
    <tr data-entry-id="{{ $order->id }}">
        <td>
            {{ $order->id ?? '' }}
        </td>
        <td>
            {{ $order->customer_name ?? '' }}
        </td>
        <td>
            {{ $order->customer_email ?? '' }}
        </td>
        <td>
            <ul>
            @foreach($order->products as $item)
                <li>{{ $item->name }} ({{ $item->pivot->quantity }} x ${{ $item->price }})</li>
            @endforeach
            </ul>
        </td>
        <td>
            {{-- ... buttons ... --}}
        </td>

    </tr>
@endforeach
As you can see, we’re using $item->pivot->quantity to get that additional column from pivot table.
And, that’s it with this mini-project!
I’ve put the finished version on Github here: https://github.com/LaravelDaily/Laravel-Master-Detail-Form
There you will find some more functionality, like editing the orders, and full QuickAdminPanel-based login/permissions system.
