Laravel AJAX Datatables: Multi-Rows Cells with Images
 Povilas Korop
Founder of QuickAdminPanel
When we say Datatables, we mostly assume it’s a table with data. Text-based data – like name, email, description, and buttons to edit/delete. But in reality, it’s more convenient to have more complex data in one cell. Let’s take a look at how to build it.
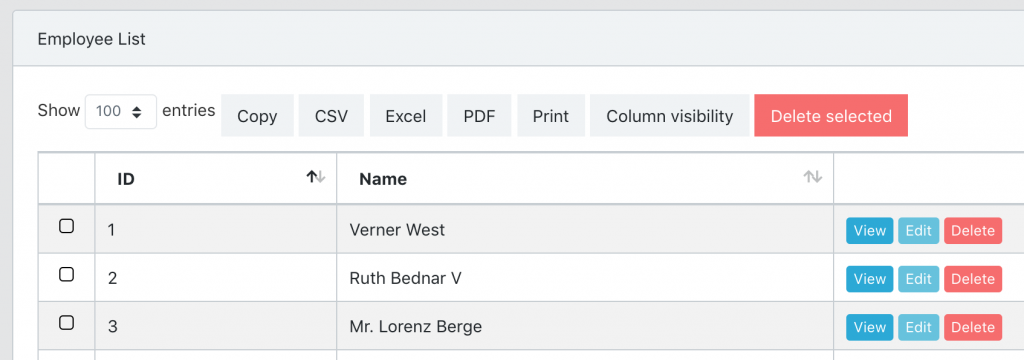
This is an example of a typical Datatable:
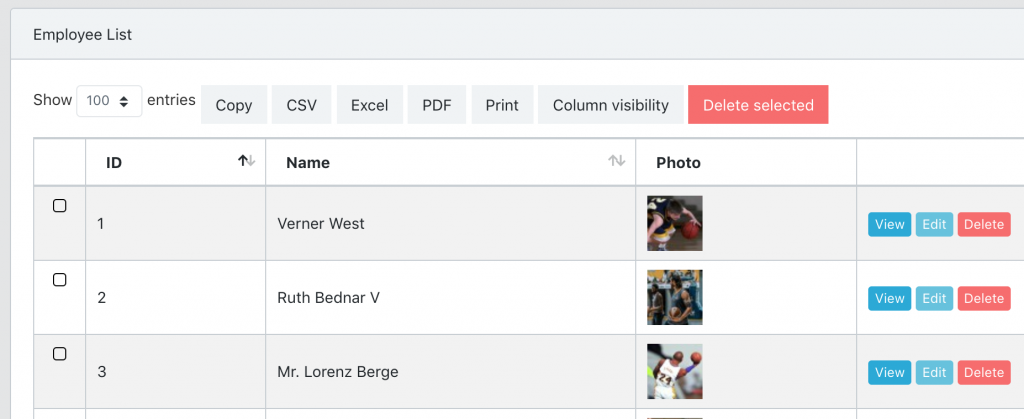
Next step – we will add a Photo column:
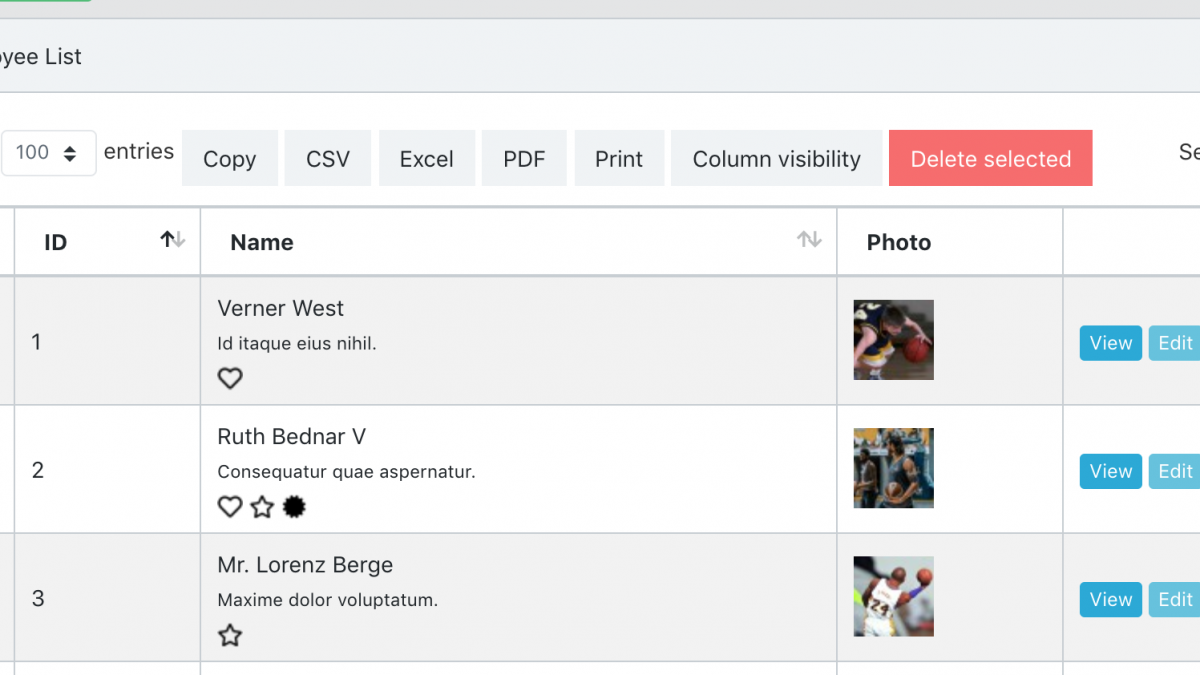
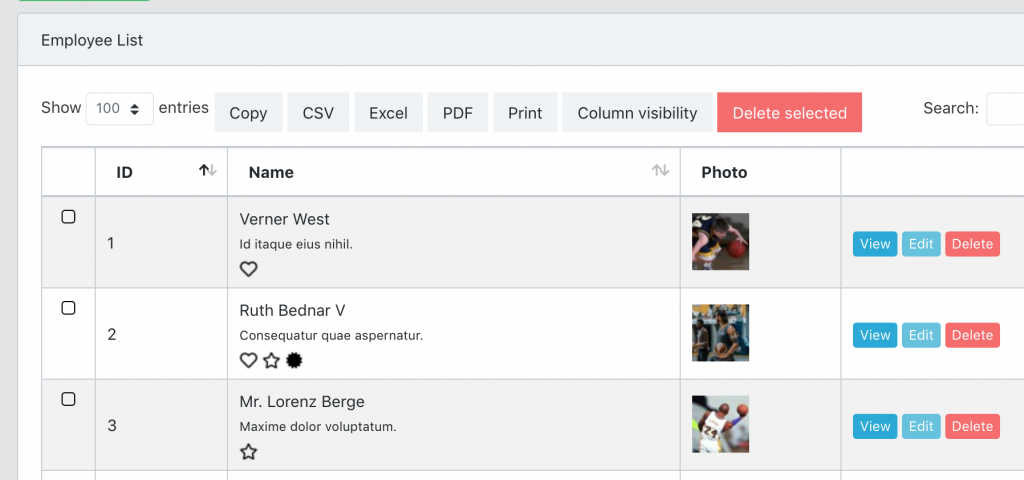
And finally, we will add a column with multi-line data and badge icons:
So, let’s build it step-by-step, and at the end of the article you will have a link to Github repository.
Simple Datatables Code
Inside of our QuickAdminPanel generator, we have AJAX Datatables module that uses Yajra Datatables Laravel package.
So in the EmployeesController, we have this:
// ... more uses
use Yajra\DataTables\Facades\DataTables;

class EmployeesController extends Controller
{
    public function index(Request $request)
    {
        $query = Employee::with(['badges'])->select(sprintf('%s.*', (new Employee)->table));
        $table = Datatables::of($query);

        // Column for View/Edit/Delete buttons
        $table->addColumn('actions', ' ');
        $table->editColumn('actions', function ($row) {
            return view('partials.datatablesActions', compact('row'));
        });
        $table->rawColumns(['actions']);

        return $table->make(true);
    }
}
And then, here’s resources/views/employees/index.blade.php:
<table class="table table-bordered table-striped table-hover ajaxTable datatable datatable-Employee">
    <thead>
        <tr>
            <th width="10">

            </th>
            <th>
                ID
            </th>
            <th>
                Name
            </th>
            <th>

            </th>
        </tr>
    </thead>
</table>

<script>
$(function () {
    let dtOverrideGlobals = {
        processing: true,
        serverSide: true,
        retrieve: true,
        ajax: "{{ route('admin.employees.index') }}",
            columns: [
                { data: 'id', name: 'id' },
                { data: 'name', name: 'name' },
                { data: 'actions', name: 'actions' }
            ],
            order: [[ 1, 'desc' ]],
            pageLength: 100,
    };
    $('.datatable-Employee').DataTable(dtOverrideGlobals);
});
</script>
Notice: in reality, code is a bit more complicated, I’ve skipped some parts that are irrelevant for this tutorial.
Upgrade 1. Adding “Photo” field
To add a photo field, in the Blade file we just add it as a typical column:
<table class="table table-bordered table-striped table-hover ajaxTable datatable datatable-Employee">
...
            <th>
                Name
            </th>
            <th>
                Photo
            </th>
...
</table>

<script>
$(function () {
...
            columns: [
                { data: 'name', name: 'name' },
                { data: 'photo', name: 'photo', sortable: false, searchable: false }
...
});
</script>
Notice how I’ve added two more parameters in the column:
– sortable: false
– searchable: false
The reason is simple – we shouldn’t be able to use Datatable search or sorting features for the photo column, as it will be HTML code.
Now, in Controller we just manipulate this column with $table->editColumn() method – and from that we can return any HTML code we want.
In our case, we have a relationship between Employee And Photo (see how QuickAdminPanel deals with file/photo uploads), in your case it may be different logic. The code is this:
class EmployeesController extends Controller
{
    public function index(Request $request)
    {
        // ...

        $table = Datatables::of($query);

        // ...

        $table->editColumn('photo', function ($row) {
            if ($photo = $row->photo) {
                return sprintf(
                    '<a href="%s" target="_blank"><img src="%s" width="50px" height="50px"></a>',
                    $photo->url,
                    $photo->thumbnail
                );
            }

            return '';
        });

       return $table->make(true);
    }
}
And that’s it, we have a photo column!
Upgrade 2. Multi-line Column with Badges
What if we have employee’s position and also employee badges as a many-to-many relationship, and want to show that all in the same column under Name?
So, in this case, we edit the column from front-end side, in Blade index only, with render JavaScript method:
$(function () {
...
    columns: [
        { data: 'name', name: 'name' },
        {
            data: null,
            name: 'name',
            render: data => {
                let badges = "";
                data.badges.forEach(badge => {
                    badges += '<img class="mr-1" src="'+badge.icon.thumbnail+'" alt="'+badge.name+'">'
                });

                return data.name+'<br><small>'+data.position+'</small><br>'+badges;
            }
        },
        { data: 'photo', name: 'photo', sortable: false, searchable: false }
...
});
Ta-daaa!
Conclusion: Render on Back-end or Front-end?
In this example, I’ve shown two ways to customize columns in AJAX Datatable – by editing back-end logic in Controller, or by editing front-end logic in JavaScript.
How to know which one to use?
It’s pretty simple: if you need more complicated logic to calculate the data, then it should be in Controller.
Otherwise, if it’s just rendering with the data you already have, then it should be in JavaScript.
Full repository for this project: LaravelDaily/Laravel-Datatables-Customize-Cells