Lesson 1. Laravel and Default Auth
 Povilas Korop
Founder of QuickAdminPanel
Mini-course: How To Create Admin Panel in Laravel 5.4
- Lesson 1. Laravel and Default Auth
- Lesson 2. CRUDs, Migrations and Models
- Lesson 3. Menu and Routes
- Lesson 4. Index, List Table and Pagination
- Lesson 5. Create, Update Entries and Validation
- Lesson 6. Deleting Entries and Some JavaScript
- Lesson 7. Roles, Permissions and Authorization
- Lesson 8. Do It All Much Quicker with QuickAdminPanel
Hello, and welcome to a mini-course about creating admin panel in Laravel 5.4. I assume you have some experience in Laravel, and this course will only show you one pretty basic example, but with all the details so you could easily reproduce the code for your project.
Also, at the end of the course you will be able to download all the code, so don’t bother copy-pasting, unless you want to try it out there and then.
And here’s our first lesson – let’s start from the very beginning.
Create a Laravel Project
First, we install a fresh Laravel project – at the time of writing, the latest version is Laravel 5.4.
So we go into our empty prepared folder for the project and run:
composer create-project laravel/laravel --prefer-dist .
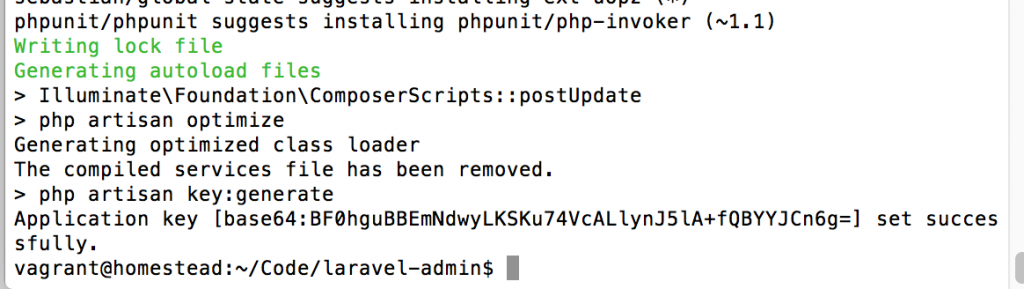
It will install Laravel in the current folder and the result will look something like this:
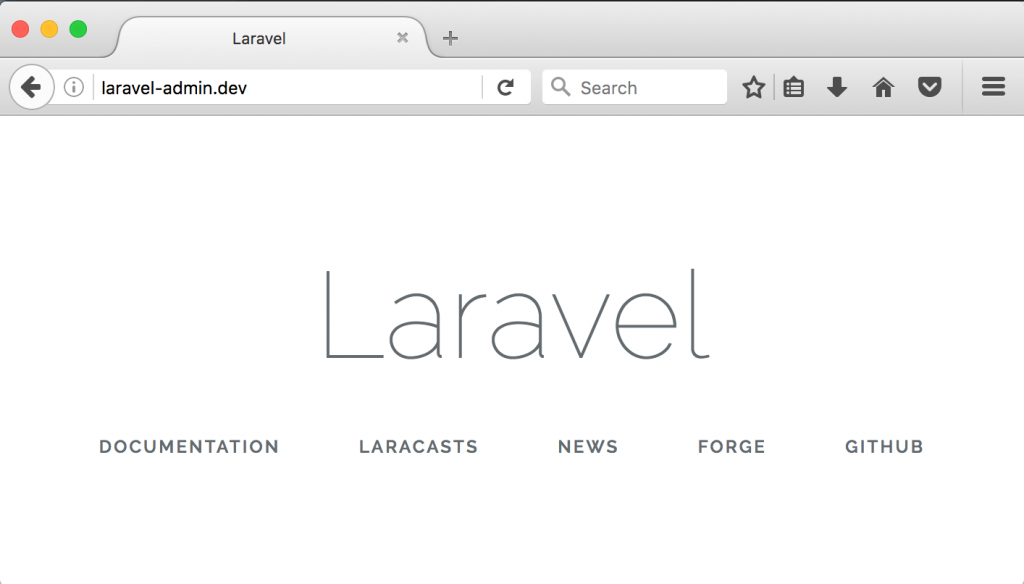
Now if we load the page in the browser – I’ve prepared a local domain for that laravel-admin.dev – we should see this greeting:
Next thing – we need to prepare our environment. We edit .env file with our database credentials (you have created an empty database for this project, right?), change APP_URL and possibly change some other settings if you want. In my case – I will leave everything else as default. Here I’ve bolded the lines that were changed.
APP_ENV=local
APP_KEY=base64:BF0hguBBEmNdwyLKSKu74VcALlynJ5lA+fQBYYJCn6g=
APP_DEBUG=true
APP_LOG_LEVEL=debug
APP_URL=http://laravel-admin.dev

DB_CONNECTION=mysql
DB_HOST=127.0.0.1
DB_PORT=3306
DB_DATABASE=laravel-admin
DB_USERNAME=homestead
DB_PASSWORD=secret
Let’s test if our database works – we run default Laravel migrations:
php artisan migrate
They contain two files:
Migration table created successfully.
Migrated: 2014_10_12_000000_create_users_table
Migrated: 2014_10_12_100000_create_password_resets_table
Laravel Auth
Laravel has a lot of functionality out of the box, including all the authentication mechanism, so we will use it, instead of re-inventing the wheel.
We just simply run this command:
php artisan make:auth
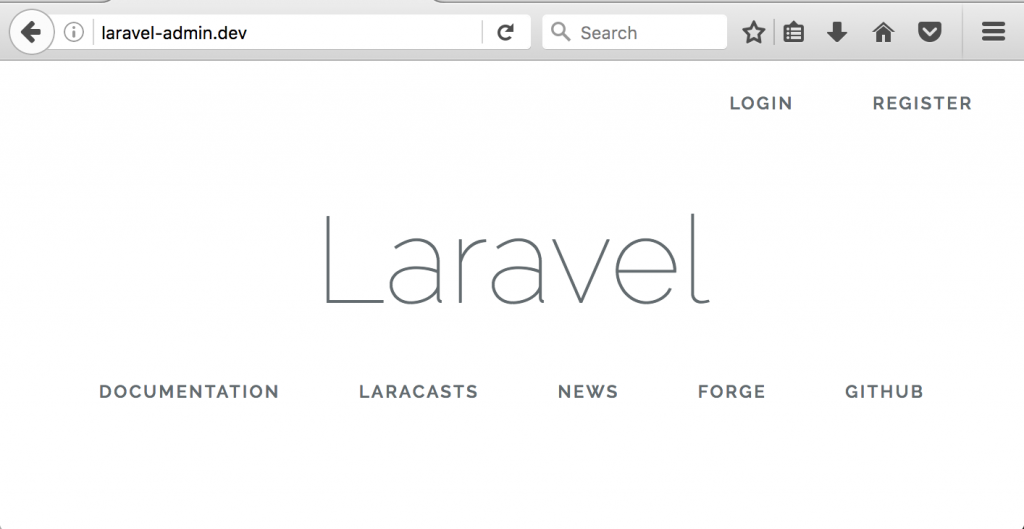
Then you should see a message Authentication scaffolding generated successfully. And if you reload your homepage, there should be two new links in top-right corner: LOGIN and REGISTER.
Guess what, now you can actually login and register – these links actually work, without us writing any Laravel code!
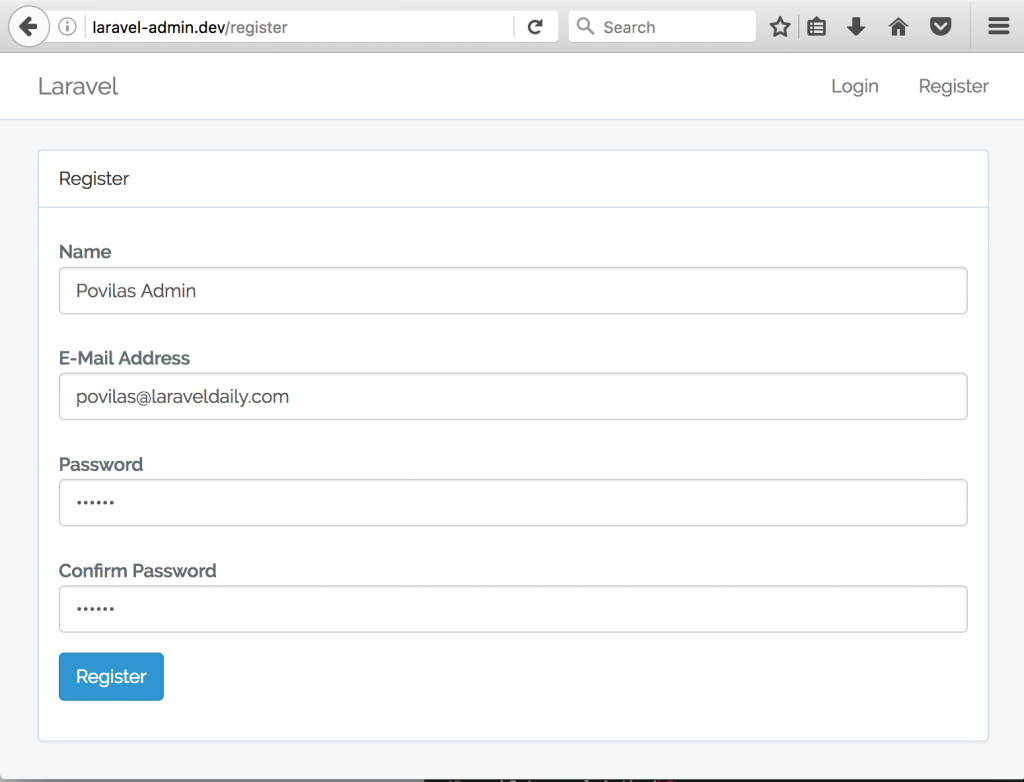
Let’s go to /register page and fill in the form:
After submit – the user is created and automatically logged in, so we see the empty dashboard:
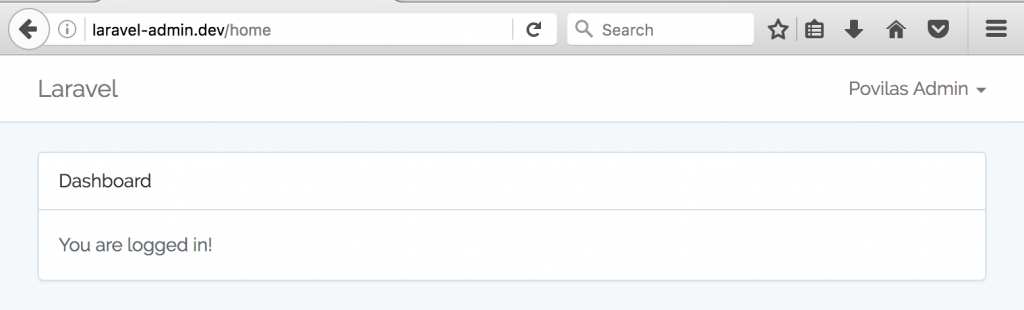
You can try to logout and login again with the same user, it should be working as well.
Basically, that’s it! We have fundamental code for our admin panel, which comes from Laravel core.
Now, how does it all work under the hood, in the code? If you want to change something, where should you be looking?
Back-end logic is in the folder app/Http/Controllers/Auth – there are four files:
- RegisterController.php
- LoginController.php
- ForgotPasswordController.php
- ResetPasswordController.php
Oh, by the way, did I mention that Laravel comes with “Forgot password” functionality as well? It’s under /password/reset URL, just make sure your email provider is configured to send emails.
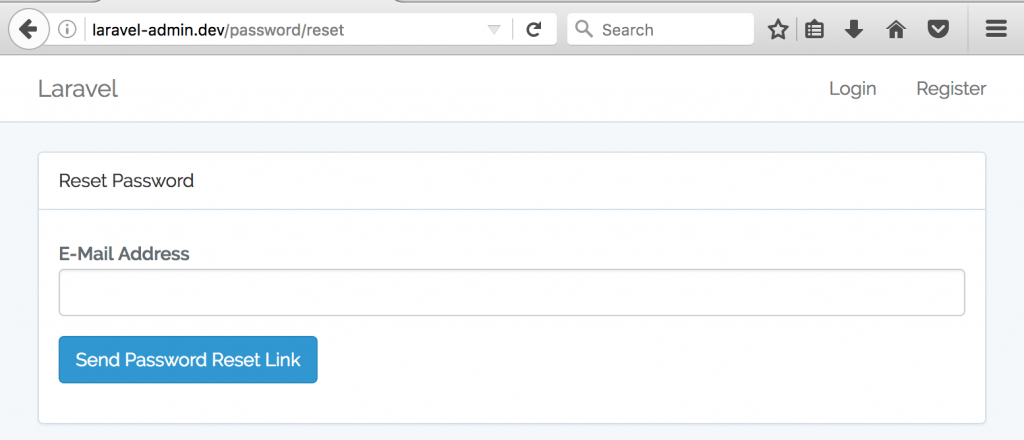
So, there you have four files that are responsible for Login/Register functionality, and they use some Traits like RegisterUsers, so you can explore the inner code if you want.
In terms of front-end views, again it’s all in one folder: /resources/views/auth. You will find Blade views there for login, register and password reset functionality.
That’s it for the first lesson – we’ve installed Laravel and default Auth functionality. Next lesson – time to write code and build our own functions!
- Lesson 1. Laravel and Default Auth
- Lesson 2. CRUDs, Migrations and Models
- Lesson 3. Menu and Routes
- Lesson 4. Index, List Table and Pagination
- Lesson 5. Create, Update Entries and Validation
- Lesson 6. Deleting Entries and Some JavaScript
- Lesson 7. Roles, Permissions and Authorization
- Lesson 8. Do It All Much Quicker with QuickAdminPanel