Lesson 4. Index, List Table and Pagination
 Povilas Korop
Founder of QuickAdminPanel
Mini-course: How To Create Admin Panel in Laravel 5.4
- Lesson 1. Laravel and Default Auth
- Lesson 2. CRUDs, Migrations and Models
- Lesson 3. Menu and Routes
- Lesson 4. Index, List Table and Pagination
- Lesson 5. Create, Update Entries and Validation
- Lesson 6. Deleting Entries and Some JavaScript
- Lesson 7. Roles, Permissions and Authorization
- Lesson 8. Do It All Much Quicker with QuickAdminPanel
In this chapter we will take care about the list table of authors. It’s pretty simple, actually.
Basic Controller and View
Here’s how the code looks in /app/Http/Controllers/AuthorsController.php:
    public function index()
    {
        $authors = Author::all();
        return view('authors.index', compact('authors'));
    }
Basically, we’re taking all the items and passing them to the view as parameter.
Now, let’s create resources/views/authors/index.blade.php, using the same layouts/app generated before and Bootstrap classes for the table:
@extends('layouts.app')

@section('content')
    <div class="container">
        <div class="row">
            <div class="col-md-8 col-md-offset-2">
                <div class="panel panel-default">
                    <div class="panel-heading">Authors</div>

                    <div class="panel-body">
                        <table class="table table-bordered">
                            <thead>
                                <tr>
                                    <th>First name</th>
                                    <th>Last name</th>
                                    <th>Actions</th>
                                </tr>
                            </thead>
                            <tbody>
                                @forelse($authors as $author)
                                <tr>
                                    <td>{{ $author->first_name }}</td>
                                    <td>{{ $author->last_name }}</td>
                                    <td>
                                        <a href="{{ route('authors.edit', $author->id) }}" class="btn btn-default">Edit</a>
                                        <form action="{{ route('authors.destroy', $author->id) }}" method="POST"
                                              style="display: inline"
                                              onsubmit="return confirm('Are you sure?');">
                                            <input type="hidden" name="_method" value="DELETE">
                                            {{ csrf_field() }}
                                            <button class="btn btn-danger">Delete</button>
                                        </form>
                                    </td>
                                </tr>
                                @empty
                                    <tr>
                                        <td colspan="3">No entries found.</td>
                                    </tr>
                                @endforelse
                            </tbody>
                        </table>
                    </div>
                </div>
            </div>
        </div>
    </div>
@endsection
Here’s the visual result of it all (I’ve entered a test entry directly to the database).
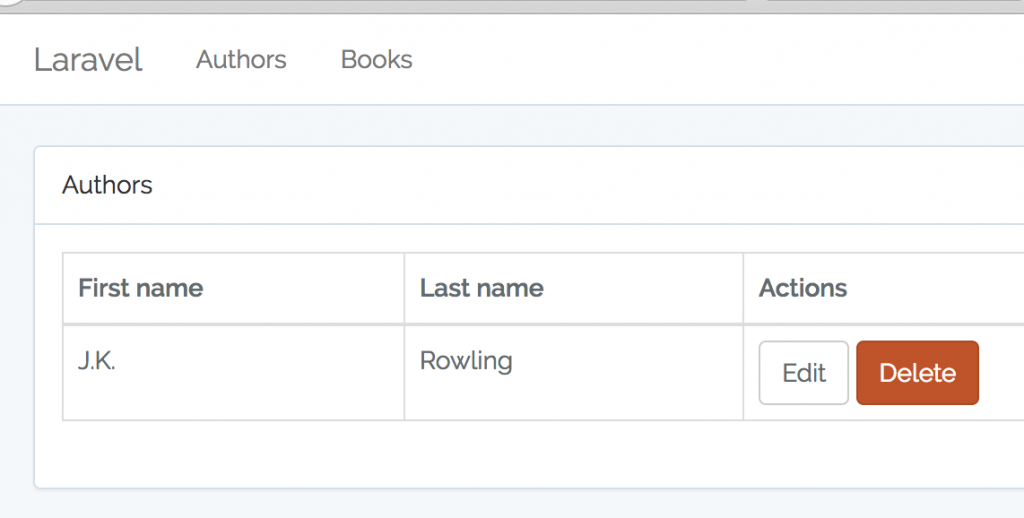
There are a few things to explain here.
1. Forelse: probably some of you won’t know this structure – it’s just a more convenient way to write foreach without checking if the array is empty. So instead of having if-else and foreach – there’s a Blade forelse operator.
2. Form for DELETE method: that’s a usual Laravel way of deleting entries – you make a POST request with parameter _method=DELETE and entry ID and then it automatically matches destroy() method of the Controller (we will talk about it later).
Everything else should be pretty clear.
Pagination
What if we have more entries and need to have pagination? Laravel has pretty awesome functionality in core, without any external packages. Let’s see how it works.
First, we use paginate() method in Controller instead of all():
    public function index()
    {
        $authors = Author::paginate(5);
        return view('authors.index', compact('authors'));
    }
Next – to display the pagination in our list in the file resources/views/authors/index.blade.php we just use method links() like this:
	<table>
	...
	</table>
    {{ $authors->links() }}
In case of 1-5 entries, it won’t display anything, but beyond that we will see something like this:

Guess what – if we click “Page 2” link or the arrow to the right, it will actually work!
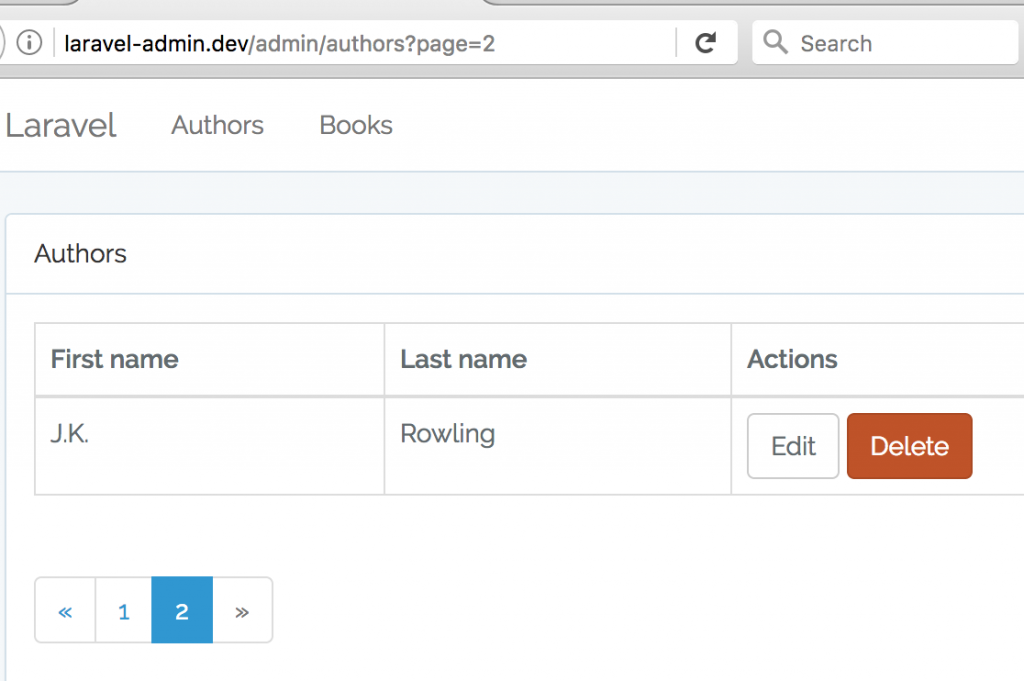
As you can see, paginator will add a GET parameter to the URL ?page=2, and we don’t need to add any custom code to make it work. Isn’t that awesome?
Of course, you can perform a lot of customizations with this pagination – move the page length to config, change URL parameters and add your own ones, apply different styling than default etc. But I will leave it for you to play around, if you wish. More information about pagination in Laravel can be found in the official documentation.
Additional things
Now, we’ve covered just a basic list of entries. For bigger projects and bigger amount of data there are needs for more functionality, like:
- Filtering and searching through the data
- Sorting by columns
- Add additional fields with relationships
- Limit some buttons or even columns by logged in user
…and much more. I won’t show it in this course, but I do recommend to try out an awesome JavaScript library called Datatables. If you apply it to your data list, it will have automatic search, filter, sort and other functions.
I guess that’s it about the list of entries, now let’s go to the next lesson, where we will add create and update functionality.
- Lesson 1. Laravel and Default Auth
- Lesson 2. CRUDs, Migrations and Models
- Lesson 3. Menu and Routes
- Lesson 4. Index, List Table and Pagination
- Lesson 5. Create, Update Entries and Validation
- Lesson 6. Deleting Entries and Some JavaScript
- Lesson 7. Roles, Permissions and Authorization
- Lesson 8. Do It All Much Quicker with QuickAdminPanel