Lesson 8. Do It All Much Quicker with QuickAdminPanel
 Povilas Korop
Founder of QuickAdminPanel
Mini-course: How To Create Admin Panel in Laravel 5.4
- Lesson 1. Laravel and Default Auth
- Lesson 2. CRUDs, Migrations and Models
- Lesson 3. Menu and Routes
- Lesson 4. Index, List Table and Pagination
- Lesson 5. Create, Update Entries and Validation
- Lesson 6. Deleting Entries and Some JavaScript
- Lesson 7. Roles, Permissions and Authorization
- Lesson 8. Do It All Much Quicker with QuickAdminPanel
The final chapter of this mini-course will be a little different. I will show you how to create all those admin panel actions without any coding – with a help of our tool QuickAdminPanel.com.
You may consider it as an advertisement, but it’s actually a natural way to show how much time you can save with the tool. We use it ourselves for client projects, and recommending you to try. So here’s how it works.
Step 1. Create a project
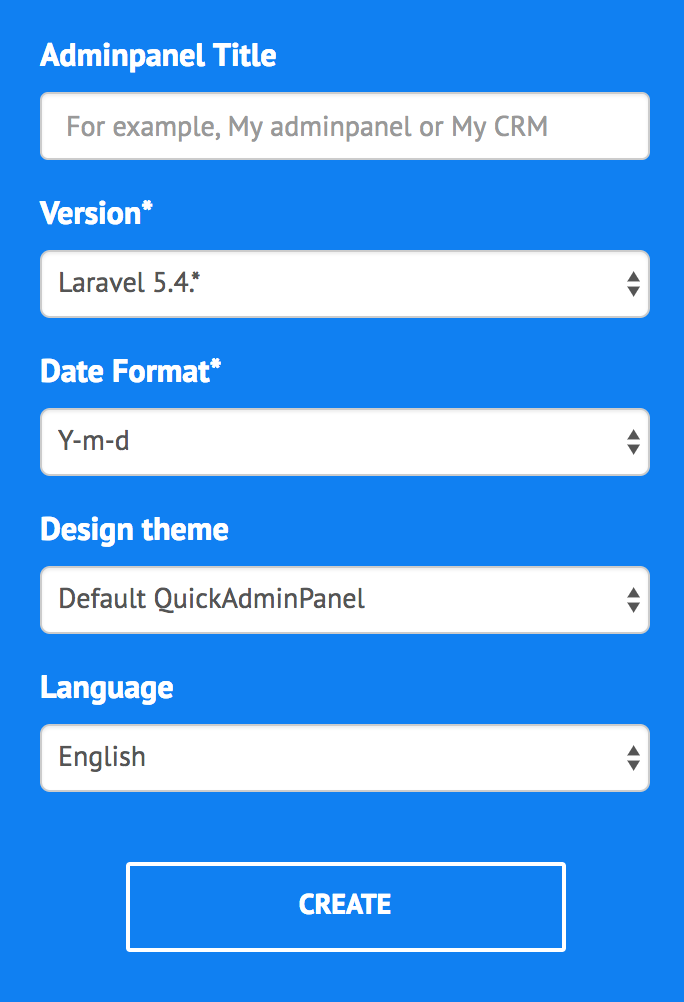
Choose your project name, and change a few more parameters if you wish:

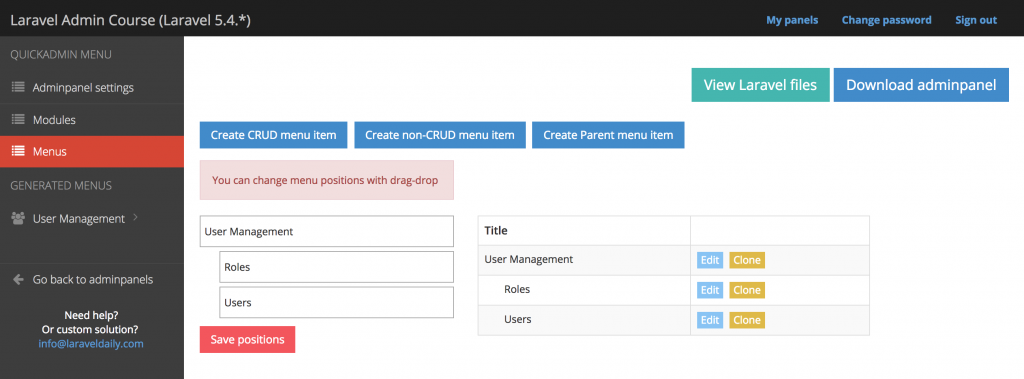
Then the system creates admin panel for you, and then you click Menus on the left.
By default, your admin panel has only User management and Roles.

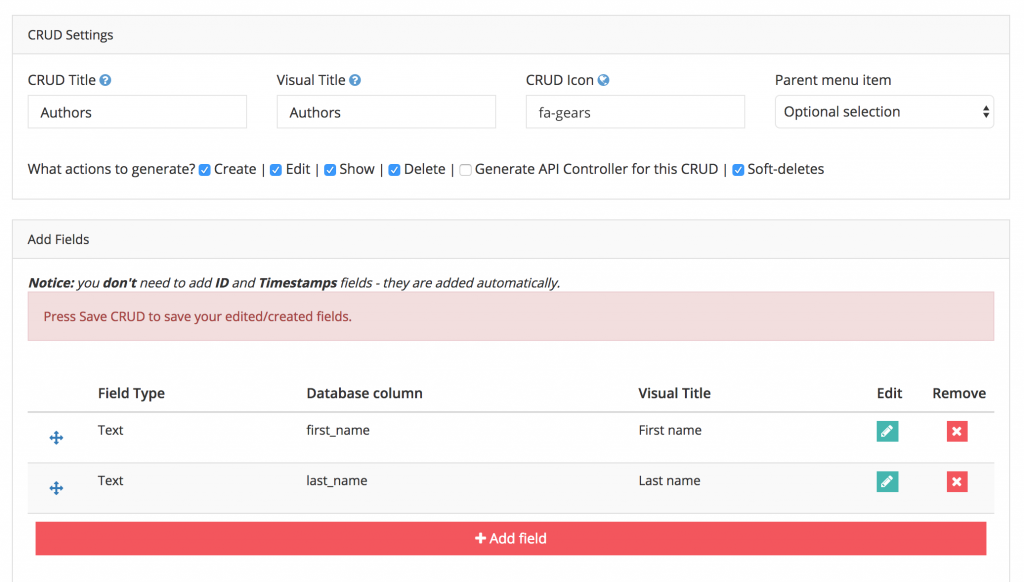
But you can add more CRUDs – just click on Create CRUD menu item and let’s fill the same example from our course for CRUD Authors:

We can also set permissions for different roles just right here, on the same page:

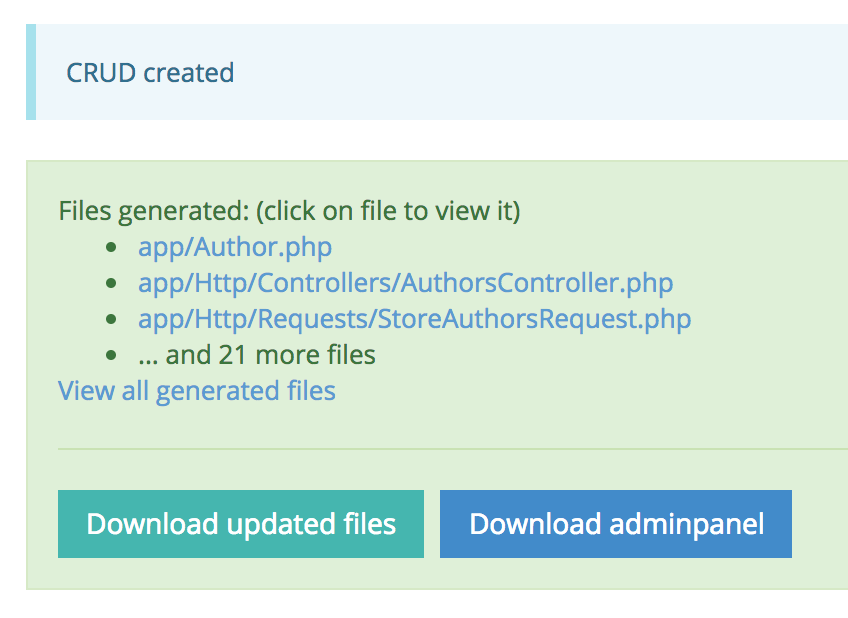
We click Save CRUD and the system generates all necessary Laravel files for us:

This way we can create more and more CRUDs, including various field types, relationships, settings etc. And, as soon as we’re satisfied, we can download the whole Laravel project code. Then – just unpack it, run composer install, artisan migrate and you have your admin panel. In just a few minutes. Without any coding.
Here’s a quick 2-minute overview of the same QuickAdminPanel in action:
If you want to try our tool yourself for free, click here and create your first admin panel.
Thank you for being with me throughout this mini-course, I hope it was helpful, and if you have any questions or feedback, please email me povilas@laraveldaily.com.
See you next time!
- Lesson 1. Laravel and Default Auth
- Lesson 2. CRUDs, Migrations and Models
- Lesson 3. Menu and Routes
- Lesson 4. Index, List Table and Pagination
- Lesson 5. Create, Update Entries and Validation
- Lesson 6. Deleting Entries and Some JavaScript
- Lesson 7. Roles, Permissions and Authorization
- Lesson 8. Do It All Much Quicker with QuickAdminPanel